Agent 64: Spies Never Die Body Armor & One-Life Survival
No checkpoints, no healing — how armor works and how to finish missions alive.
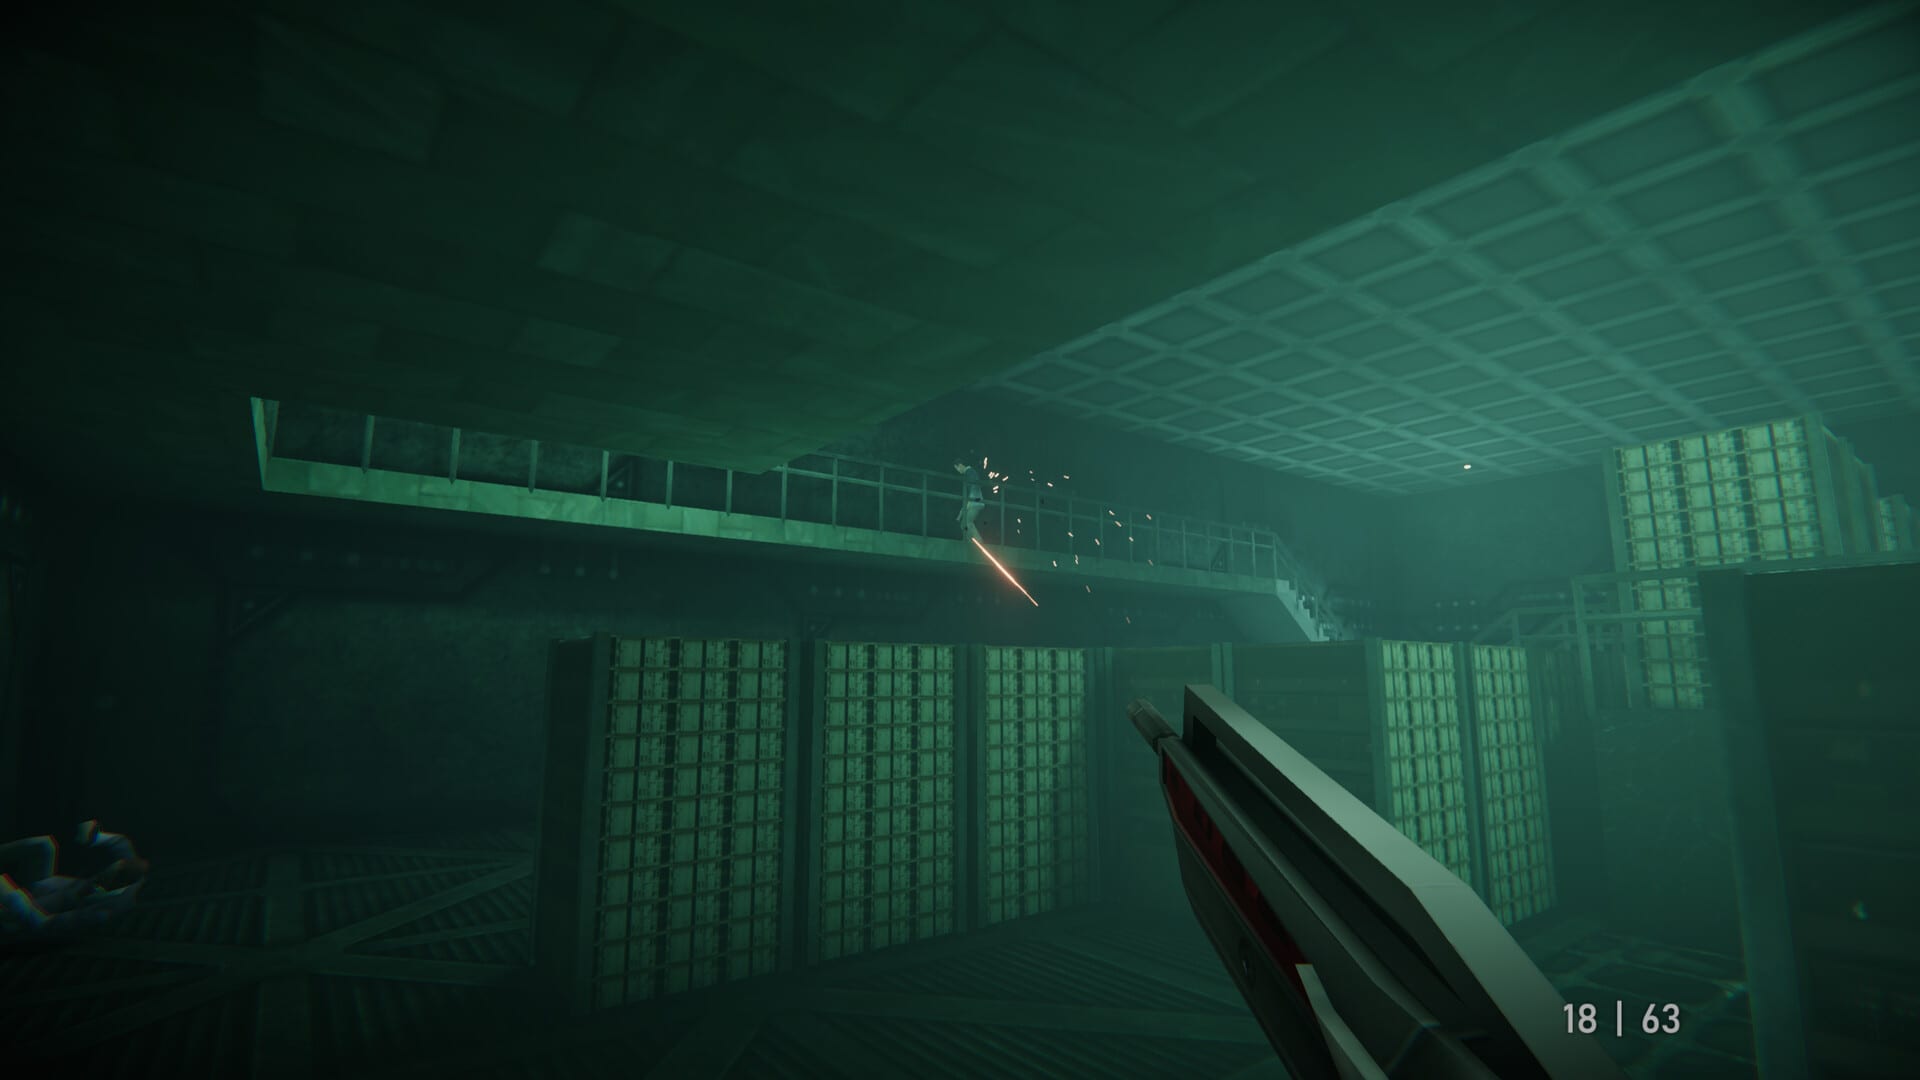
Agent 64: Spies Never Die deliberately rejects modern shooter comfort blankets. Missions have no mid-level checkpoints, no health regeneration, and no passive healing kits scattered every corridor. Your only meaningful recovery tool is body armor — degradable vests hidden off the critical path in secret alcoves, side rooms, and suspicious wall panels. Die once and you restart the entire mission from the briefing screen. This one-life design defines pacing across the 14-mission campaign and makes Special Agent hostage failures and 64 Agent timers feel genuinely tense. This guide explains armor behavior, routing priorities, difficulty interactions, and survival habits that pair with Disguises & Stealth and the full Walkthrough arc pages.
The one-life rule
Every mission is a single continuous run. Quitting or dying resets:
- Objective progress — hacks, keycards, planted trackers, rescued hostages.
- Ammo and gadget expenditure — wasted grenades do not refund.
- Armor charges — picked up vests must be found again.
Replicant D6 sized levels around this friction. Most missions are compact by modern standards — ten to twenty minutes on Agent — with organic waypointing so you rarely feel lost in a maze without a map. Critics comparing the game to GoldenEye 007 praise short loops; players expecting Call of Duty checkpoints should adjust expectations before Getting Started.
Co-op shares the rule: if everyone dies or a shared fail state triggers, the whole squad restarts. Assign revive-adjacent roles only where mechanics allow — there is no downed-state crawl like modern military co-op.
How body armor works
Body armor absorbs incoming damage until its hidden durability meter depletes. Key traits:
- Finite pickups — each vest spawns once per mission attempt in a fixed location.
- No stacking inventory — you typically wear one vest at a time; grabbing a new vest replaces or refreshes protection depending on mission logic.
- Off-path placement — armor rewards exploration, not main-corridor sprinting.
- Degrades under fire — sustained combat eats armor quickly; burst damage from explosives is especially costly.
There is no healing syringe or medkit equivalent. Once armor is gone and health drops, every bullet matters until extraction. This pushes cautious play on Difficulty Modes where 64 Agent adds simultaneous objectives under time pressure.
Finding armor pickups
Armor hides where retro shooters always hid power-ups:
- Side offices in Skyscraper before the server hack.
- Back rooms in Nightclub away from the dance floor stealth segment.
- Secret panels in Museum wings — off-color bricks and suspicious alcoves noted in Early Missions.
- Crane platforms and container stacks on Harbor for mid-campaign sustain.
- Train sleeper cars and luggage racks in narrow corridors.
- Snow Base and Desert outbuildings before alarm-heavy finale pushes.
Learn armor locations on Agent first. Memorizing three vests per map matters more than memorizing every guard on 64 Agent — a pattern reviewers highlight in Review Roundup coverage.
Survival tactics
Peek doorframes. Retro AI rushes chokepoints; hold angles instead of standing center room.
Silence before alarms. One quiet kill with the silenced pistol prevents squad dumps that shred armor — see Disguises & Stealth.
Save explosives for spikes. Grenades and remote mines belong to objective waves or armor-heavy guard clusters, not random patrols.
Backtrack deliberately. If you skipped a known vest before a timed objective, retreating costs time but saves a restart on 64 Agent.
Use cover objects. Crates, pillars, and desk islands break line of sight better than strafing in open galleries.
Manage co-op exposure. One partner hacks while the other holds door — never double-reload in the same doorway.
Difficulty and armor pressure
Agent — forgiving enough to learn routes with occasional death restarts.
Special Agent — extra objectives push you into unexplored wings where armor often sits.
64 Agent — timers discourage full clears; veterans route minimum necessary combat plus known vests. Cypher grinding on Cyphers & Progression multiplies how often you repeat these routes — armor knowledge becomes muscle memory.
Hostage fail states indirectly punish survival mistakes. A civilian death fails the mission even if Walter still has armor — play controlled bursts, not panic sprays.
When death is acceptable
Treat early deaths as free recon on a new map. First Agent attempt dying at an unexpected sniper nest teaches spawn locations cheaper than finishing with zero objectives learned. Once routing is known, aim for zero-death clears before pushing cyphers on higher tiers.
Speedrunners chasing Paradox Mode par times sometimes skip optional armor if movement lines avoid damage entirely — advanced play documented on Paradox Contracts.
Loadout and tier list synergy
Some weapons conserve armor better than others. Precision pistols with auto-aim reduce exposure time. Shotguns at doorframes delete rushes before they chip vest durability. Cross-check Weapons Tier List before Harbor and Underground Lab where ammo and armor both run tight.
Multiplayer contrast
Arena Deathmatch and Challenges respawn you — survival rules differ entirely. Use Challenges Mode to practice aim without one-life stress, then return to campaign with cleaner peek habits.
Accessibility considerations
No checkpoints frustrates players with limited reflex time. Mitigations within game rules:
- Stay on Agent or Special Agent until armor routes are automatic.
- Play co-op with a partner who covers objectives while you hold safer angles.
- Lower difficulty temporarily to learn vest locations, then climb tiers for cyphers.
There is no in-game toggle to enable checkpoints — plan sessions around shorter missions when fatigue hits.
Related pages
- Disguises & Stealth — avoid damage before armor matters
- Cyphers & Progression — why you replay missions anyway
- Mid Missions — Harbor and Train armor notes
- Settings Reference — HUD and aim assist for cleaner fights
Body armor and one-life missions are Agent 64’s retro contract with the player: exploration is rewarded, recklessness is taxed, and every restart teaches the map. Accept that contract and the campaign feels fair; fight it and Dominic Pulp’s strongholds will feel punishing.
Frequently Asked Questions
Quick answers to the most common questions.
Are there checkpoints in Agent 64 missions?
No. Dying or failing a mission restarts the entire level from the beginning with no mid-mission saves.
How do you heal in Agent 64?
You cannot heal health directly. Body armor pickups absorb damage until depleted. There are no medkits or regeneration.
Where is body armor found?
In off-path rooms, secret alcoves, and side areas — often the same hidden spots that hold extra ammo. Learn locations on Agent first.
Does body armor respawn if I die and retry?
Yes. Pickups reset when the mission restarts, so you can attempt the same armor route again on the next run.
Is co-op also one-life?
Yes. Shared mission fail states restart everyone. Coordinate so one player is not exposed during hacks or hostage escorts.